
Installing CIVET
To date we’ve only installed the system on Macintosh computers (OS-X), though the only difference between a Macintosh installation and other installations should be the installation of the Django system.
On Macintoshes running OS-X 9 and 10, the required Python 2.7 comes
pre-installed. The pip installation program may also be
pre-installed—I’m having trouble determining this from the Web, and
forget whether I had to install it when I last upgraded—but if not,
install that.
- In the Terminal, run
sudo pip install Django: you will need administrative access to do this. - Download the CIVET system from https://github.com/civet-software/CIVET-Django, unzip the folder and put it wherever you would like
- In the Terminal, change the directory so that you are in the folder Django_CIVET/djcivet_site
- In the Terminal, enter
python manage.py runserver - In a browser, enter the URL http://127.0.0.1:8000
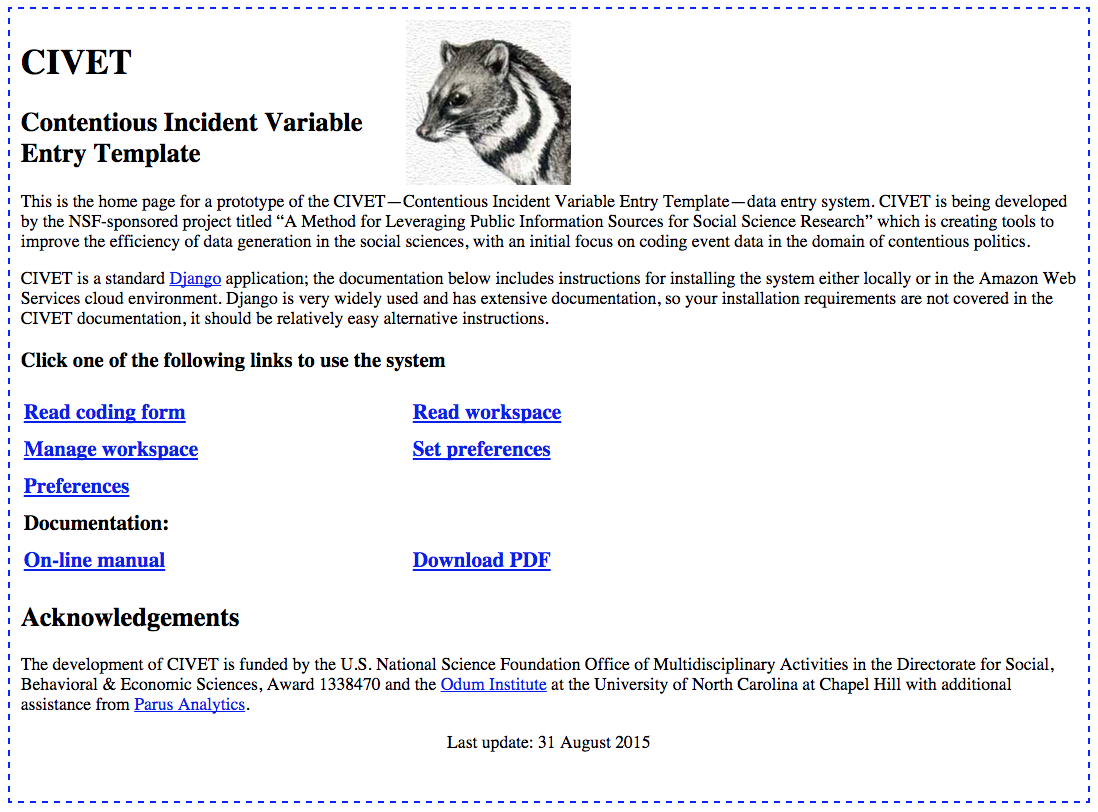
At this point you should see the CIVET home screen [1]
Modifying the default installation
Because CIVET is still in beta, the version on GitHub is the one being used for development. To deploy the system for active coding, you will probably want to make the following changes:
- In the file djcivet_site/djcivet_site/settings.py, set
DEBUG = False. This will
It is appropriate to note the Django documentation advice on this:
Never deploy a site into production with DEBUG turned on.

Did you catch that? NEVER deploy a site into production with DEBUG turned on.
As the Django documentation discusses in detail, with
DEBUG = Trueany errors will generate an error page containing extensive internal detail about your site. WithDEBUG = False, the user just sees aPage not founderror.
- In the file djcivet_site/djcivet_site/settings.py, set
Footnotes
| [1] | If you see a log-in page requesting a user name and password, the log-in requirement has been activated: see the “Authentication” chapter for details on how to use (or deactivate) this. |